Software Organization Overview
Contents
Software Organization Overview#
There are two main areas of software. The first is a centralized software area using modules and the second is a per user system using conda.
You can always install your own software environments to the cluster using conda or spack.
The cluster is already setup for you to install software using the conda package manager.
You can see the centrally installed software by running:
module avail
module load Miniconda3
Install Software with Conda#
Most of the time I recommend using conda to install your software. If you have software that requires MPI or CUDA then it is recommended to use spack, but conda will take care of your simple cases.
module load Miniconda3
Default conda configuration#
conda config --add channels defaults
conda config --add channels bioconda
conda config --add channels conda-forge
conda config --set channel_priority strict
conda config --add create_default_packages ipykernel
conda config --add create_default_packages ipython
Run this command and you will be all set.
Note
Configuring your conda only needs to be done once.
You can check that your configuration has been applied by running:
cat ~/.condarc
# ~/.condarc
channels:
  - conda-forge
  - bioconda
  - defaults
channel_priority: strict
create_default_packages:
  - ipython
  - ipykernel
Register your Software to Jupyter#
In order to have your software appear on the Launcher page you’ll need to first create the environment and then source it.
Python#
For python environments just create the conda environment as you typically would, and then install the kernelspec.
module load Miniconda3

# Optionally, create an environment
# The -n is for name
# conda create -n my-env -c conda-forge r-base ipykernel
source activate my-env
python -m ipykernel install --user --name my-env --display-name "Python (my-env)"
R#
It can be tricky to get your R packages installed and to get these packages to play nicely with RStudio and Jupyterhub.
For R environments you will need an extra step.
module load Miniconda3

# Optionally, create an environment
# The -n is for name
conda create -n my-r-env -c conda-forge r-base r-tidyverse ipykernel ipython r-irkernel
source activate my-r-env
R -e "IRkernel::installspec(name = 'r-tidyverse-4', displayname = 'R 4.0')"
python -m ipykernel install --user --name my-r-env --display-name "R (my-env)"
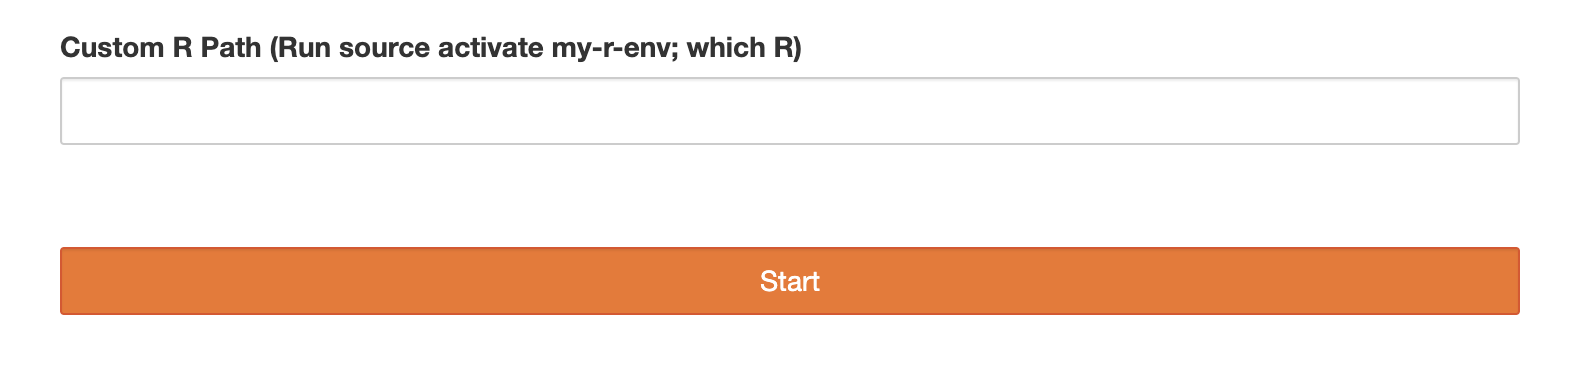
Custom R with RStudio#
In order to use a custom R installation you need to let Jupyterhub know at launch time.
Note
I know this is annoying. Its a WIP.
Bootstrap your R with the previous instructions. Once you’ve run source activate my-r-env run the command which R. Save this path. Once you have the Jupyterhub Launcher open you can cut and paste that R path into the Custom R option.